Create Your Own MINI GARDEN IN A JAR: A Fun and Green Project not Only for Kids
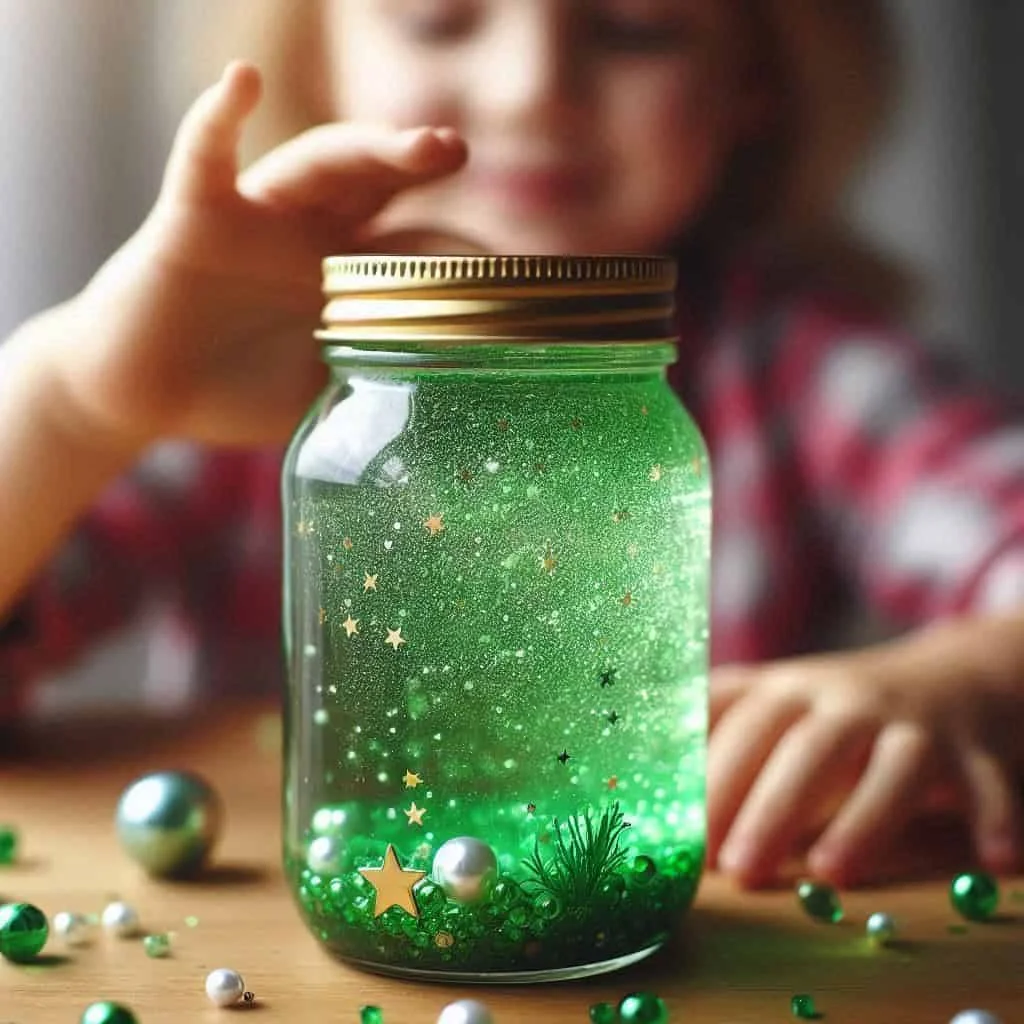
Discover the Joy of Gardening with a Mini Garden in a Jar
Introduce your kids to the wonders of nature with a delightful and easy-to-make mini garden in a jar. This project is perfect for young nature enthusiasts and offers a hands-on experience with plants, soil, and creativity. Using simple materials, you can create a miniature garden that brings a touch of greenery indoors. Whether for a rainy day activity, a party project, or simply some quality time together, this DIY garden will bring joy and a sense of accomplishment to your child.
What You’ll Need
- Glass jar with a lid (mason jars work well)
- Small pebbles or gravel
- Activated charcoal (optional, for plant health)
- Potting soil
- Small plants (succulents, moss, or herbs work best)
- Small figurines, decorative stones, or tiny fairy garden accessories (optional)
- Spray bottle for watering
- Gardening gloves (optional)
- Small spoon or scoop
Step-by-Step Instructions
Prepare the Jar
- Clean the Jar: Start with a clean, dry jar. The size can vary, but a wide-mouthed jar is easier to work with.
- Create Drainage: Place a layer of small pebbles or gravel at the bottom of the jar. This helps with drainage and prevents roots from sitting in water.
- Add Charcoal (Optional): If you’re using activated charcoal, add a thin layer on top of the pebbles. This helps keep the soil fresh and the plants healthy.
Plant Your Mini Garden
- Add Soil: Spoon a layer of potting soil into the jar, enough to cover the pebbles and provide a base for the plants. The soil layer should be about 2-3 inches deep, depending on the size of your jar and plants.
- Plant Selection: Choose small plants that thrive in confined spaces. Succulents, moss, and small herbs are excellent choices. Make sure the plants are small enough to fit comfortably in the jar without touching the sides.
- Planting: Gently remove your plants from their containers, shake off excess soil, and place them into the jar. Arrange them as desired, allowing space for each plant to grow. Add more soil around the plants to anchor them in place.
Decorate Your Mini Garden
- Add Decorative Elements: Use small figurines, decorative stones, or tiny fairy garden accessories to personalize your mini garden. Let your child’s imagination run wild as they create their own little world inside the jar.
- Moss Covering (Optional): If you’re using moss, place it around the plants to cover the soil. This adds a lush, green carpet to your mini garden and helps retain moisture.
Care for Your Mini Garden
- Watering: Use a spray bottle to lightly mist the plants. Be careful not to overwater; a few sprays every week should be sufficient, depending on the type of plants used.
- Light and Placement: Place the jar in a spot where it will receive indirect sunlight. Too much direct sunlight can overheat the jar, while too little light can stunt the plants’ growth.
- Maintenance: Trim plants as they grow to keep the mini garden tidy. Remove any dead leaves or debris to maintain a healthy environment.
Enjoy Your Mini Garden
- Display: Place the jar in a prominent spot where your child can admire their handiwork. It makes a great decoration for a windowsill, desk, or shelf.
- Interactive Fun: Encourage your child to observe the growth of their plants and learn about plant care and responsibility.
A Fun And Easy Craft Not Only for Kids!
Tips and Variations:
- Personalize: Let kids choose plants and decorations that reflect their interests, whether it’s a fairy garden, dinosaur habitat, or simple succulent display.
- Group Activity: This project is perfect for playdates, school activities, or birthday parties, offering a fun and educational group experience.
- Safety First: Supervise the use of glass jars, especially with younger children, and ensure they handle the plants and soil with care.
Did you enjoy creating a little piece of nature with your mini garden in a jar? For more green and creative ideas, visit our DIY Projects Section!